
To get started with controlling and interfacing electronics with the Raspberry Pi, the easiest and safest way is turning a LED On and Off. It is simple but it works.
Interactively, First
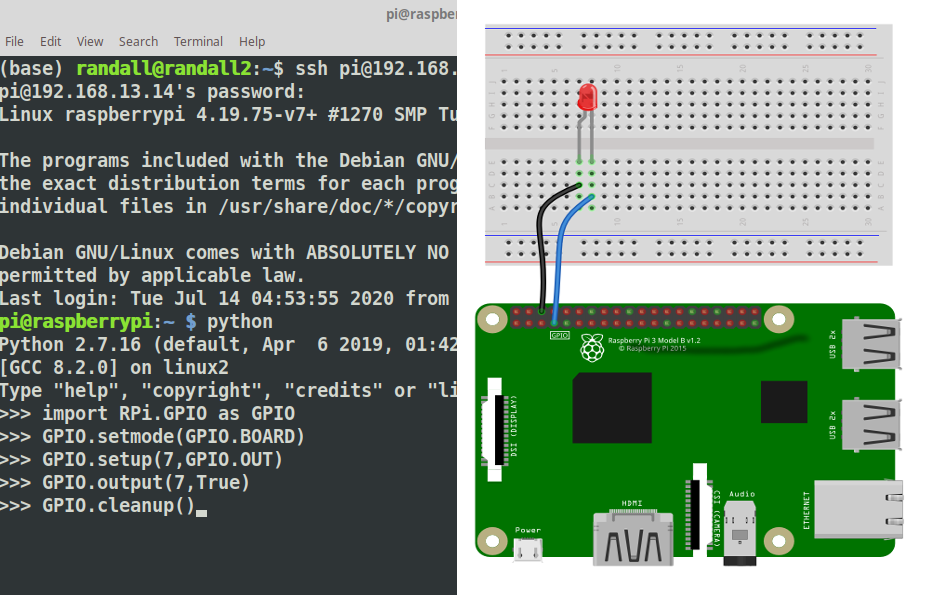
If you have installed Raspian on your Raspberry Pi it comes with Python pre-installed. All you need to do is bring up a terminal and type python <enter> to get to the python console. It looks like this:

The python console let’s you execute code as you go, it is a great way to learn and test small pieces of code.
To control the GPIO pins on the Raspberry Pi we need to add a tool that knows how to control them this is the GPIO Library ( there are others as well ). To add the library we will use the import command. Type the command as show and hit the Enter Key. If done correctly the python console will simply accept it and prompt you for the next line.
>>>import RPi.GPIO as GPIO
>>>
Know that we have the tool we need to tell the python console specifically how to use it. We will be using BOARD mode. This means we will be referring to the PINS as they are physically numbered and laid out. Again you will get no prompt, simply the next line.
>>>import RPi.GPIO as GPIO
>>>GPIO.setmode(GPIO.BOARD)
>>>
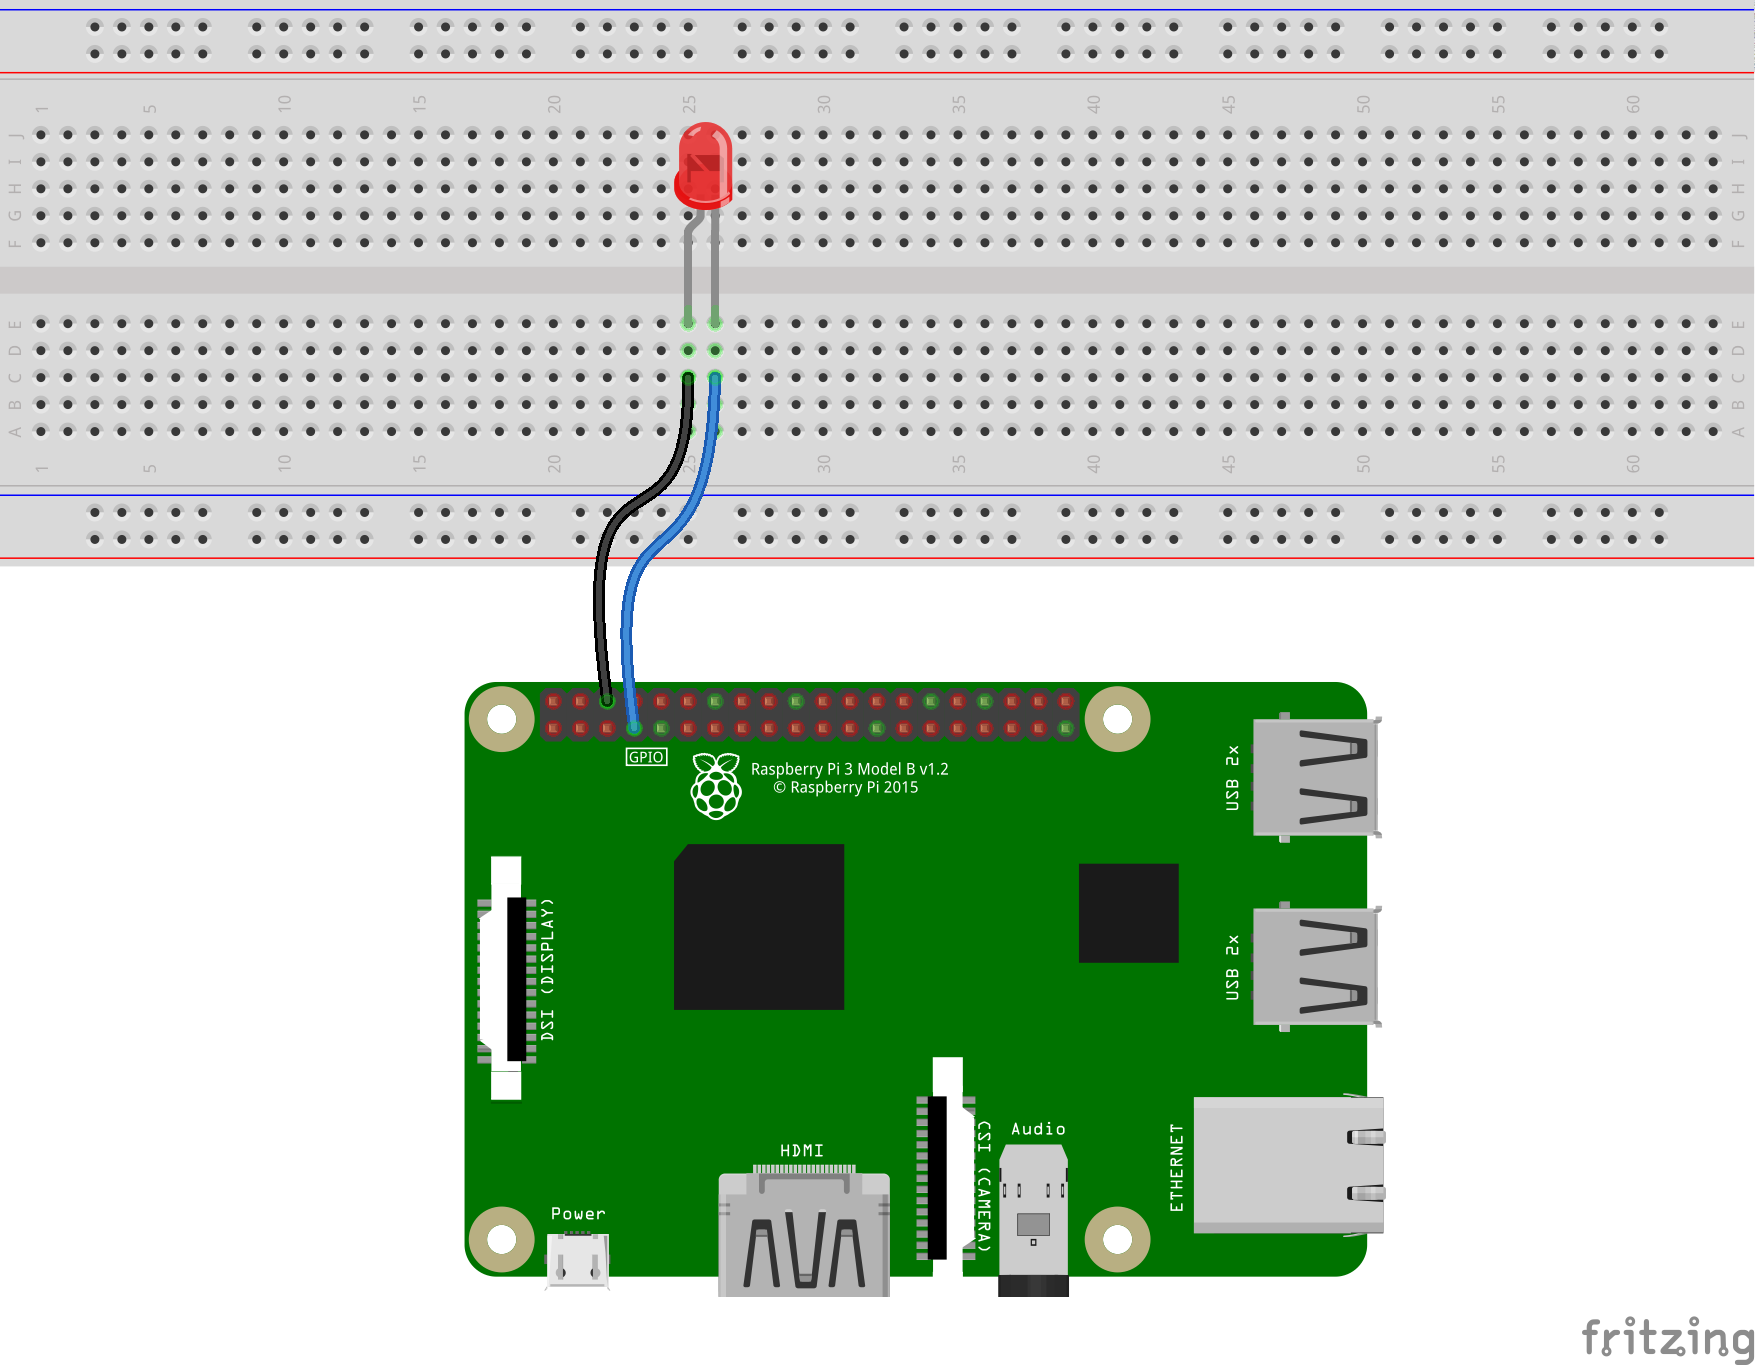
The pins are numbered with Odd Pins in one Row and Even pins in the other. The numbering starts from 1 and 2 next to the Power LED. Pin 1 sits near the inside of the board and Pin 2 near the edge. We will wire Pin 6 and Pin 7 to the LED. Pin 6 is GND ( Ground or Negative ) will be wired to the short leg of the LED or the Cathode. Pin 7 will be wired to the Short leg or the Anode.
Next we need to tell python what to do with pin 7. We use the GPIO.setup() command to indicate that the the Pin will be used for output. The GPIO.OUT is used to indicate output.
>>>GPIO.setup(7,GPIO.OUT)
>>>
To turn the LED on we set the pin to True using GPIO.output()
>>>GPIO.output(7,True)
>>>
To turn the LED off we set the pin to False using GPIO.output()
>>>GPIO.output(7,False)
>>>
Let’s make a command file.
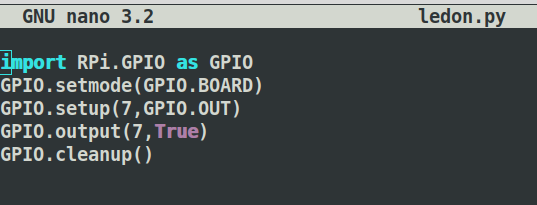
To complete this on the command line we will use a program called nano. It is a command line based text editor. For more advance python it can be beneficial to use an IDE
Open the editor by executing the nano command and type all the commands from above into the nano windows
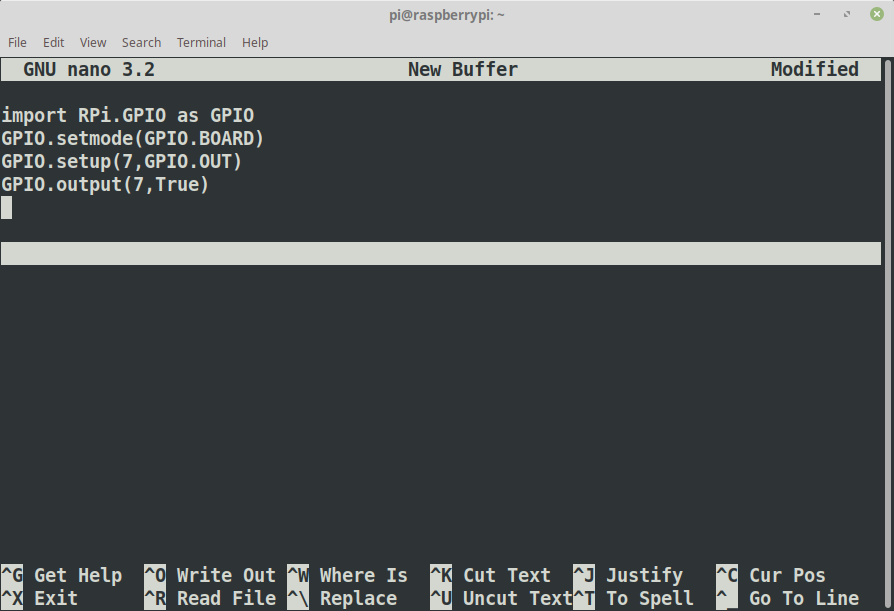
When done press CTRL-O, type in the name ledon.py, press enter the CTRL-X
Test the command, type:
python ledon.py
Our Second Command
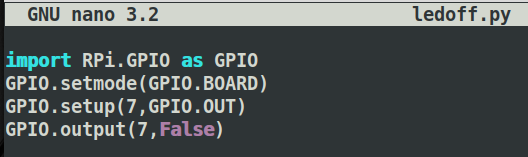
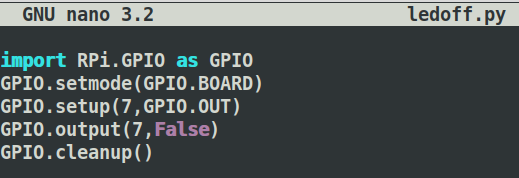
copy the ledon.py to ledoff.py, and open the file with nano ledoff.py

Change the True in line 4 to False
Run the command to turn the led off
python ledoff.py
You will notice there is a warning, let’s take care of that.

Using nano add GPIO.cleanup() to the end of each file
You can now turn the LED On and Off from anywhere you can get a terminal on your Raspberry Pi