
Using NodeRED to program your RaspberryPi for GPIO Control.
The basic installation of Raspian includes NodeRED. However you need to start it to use it.
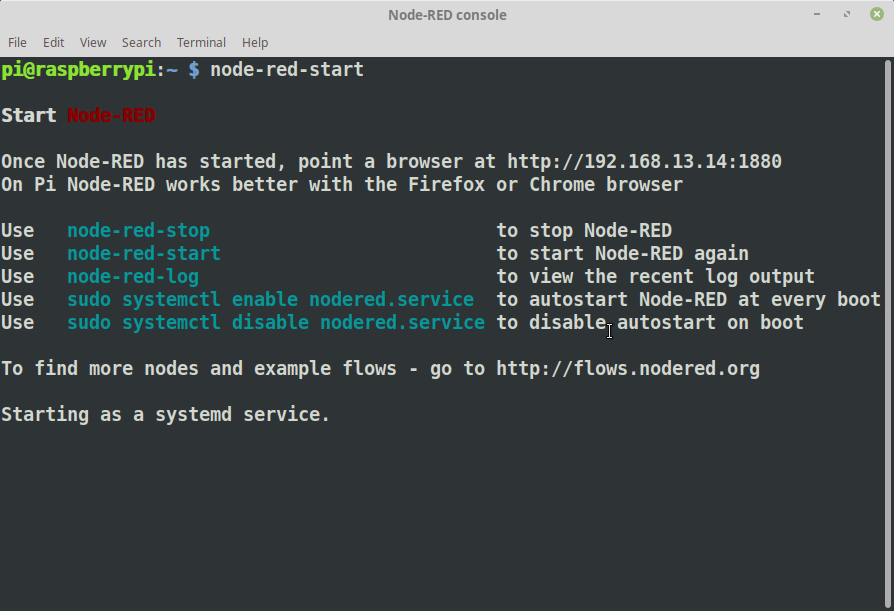
Connect to your Raspberry Pi using your terminal. Issue the NodeRED startup command:
node-red-start
The first line after the “Start Node-RED” will contain where you need to point your browser. Remember that your Raspberry Pi is a fairly small computer so it might take it a little while to load ( possible minutes ).
The console will update once Node-RED has started, it is ready when you see the final line state “Server s now Running …”
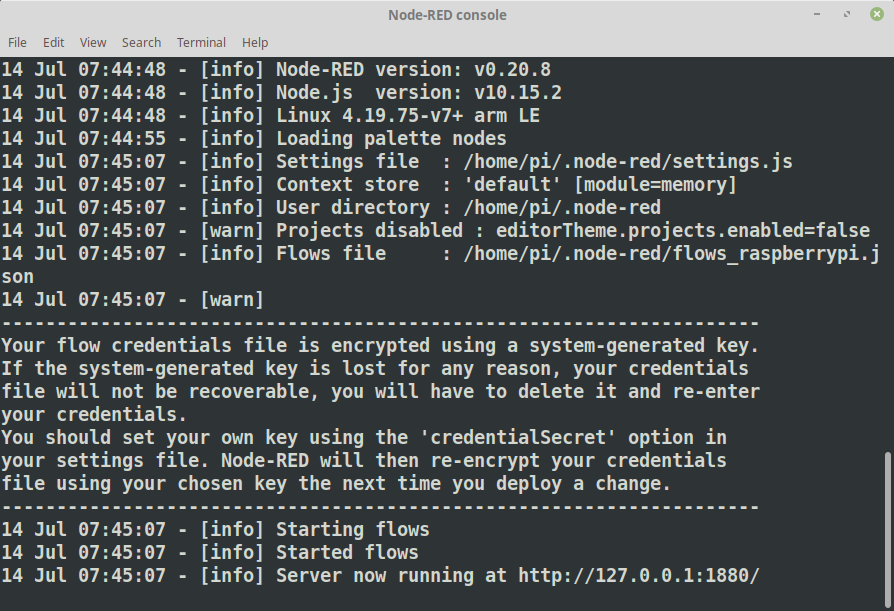
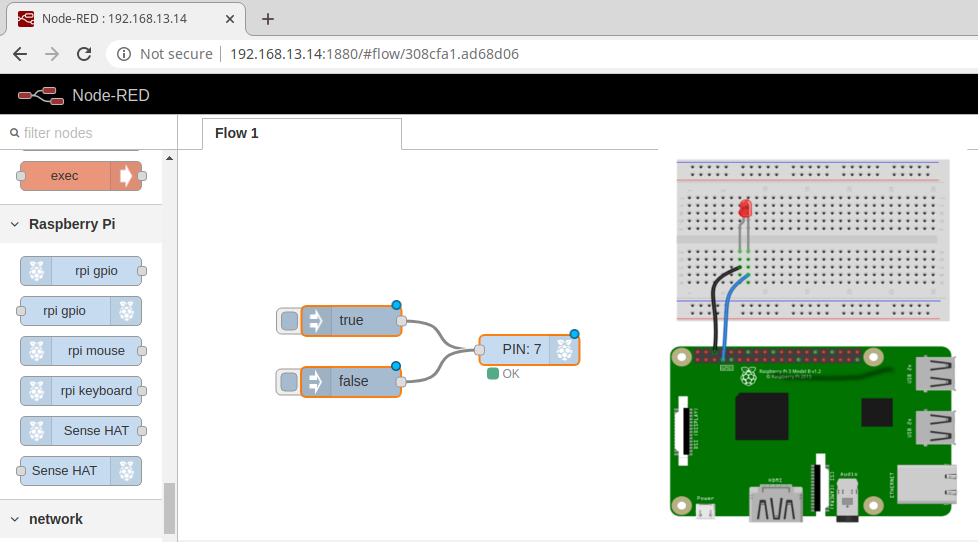
Now we can connect with our browser
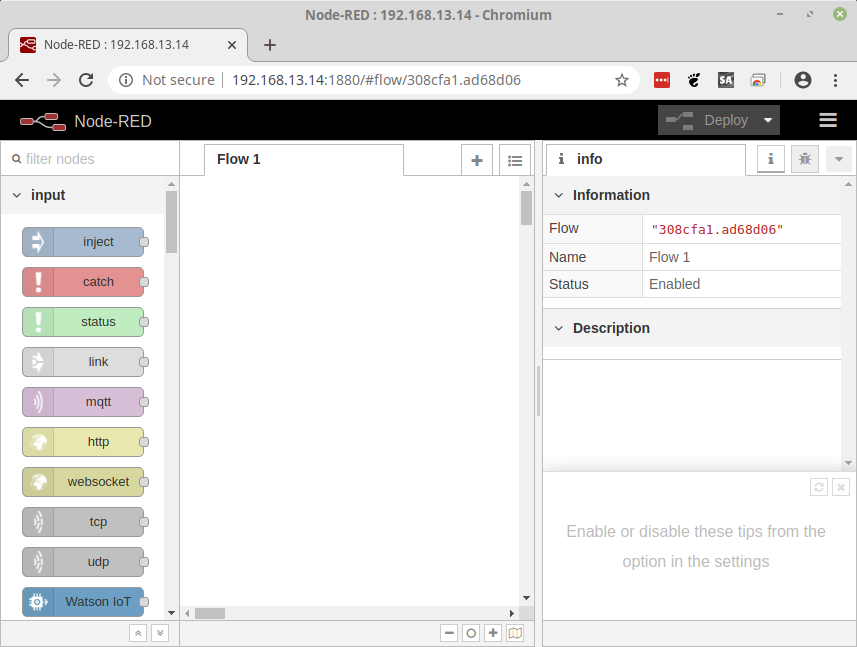
Let’s Add Nodes

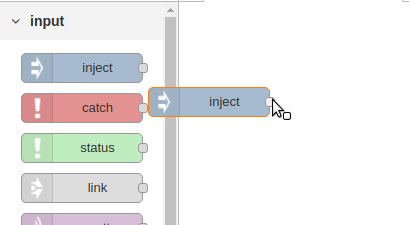
We will use the Inject Node as the “Button”, Drag one of the Inject nodes to the Flow area:
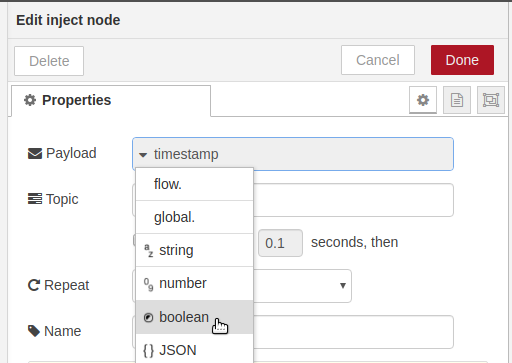
Double click the node to open the edit panel. From the Payload drop-down select boolean and leave the value as True.
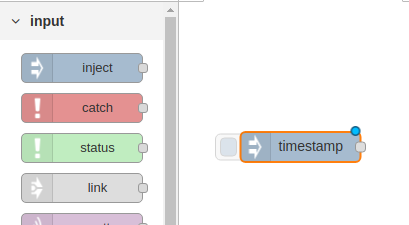
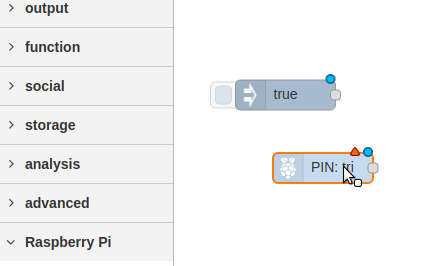
Click Done, and you will see that the Inject node now reads as “true”

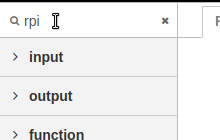
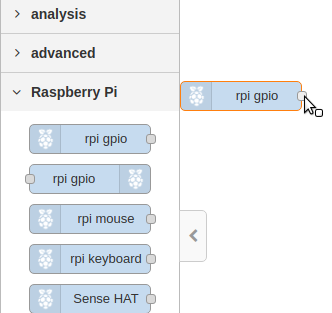
To easily find the Raspberry Pi nodes type rpi in the node search tool at the top left. Drag a single rpi gio Output node to the Flow area and drop it near the Inject Node.
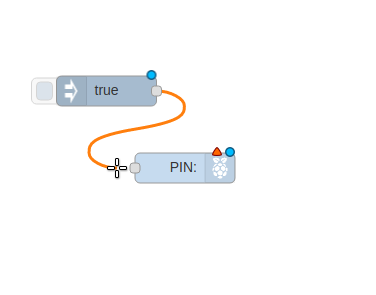
Wire the Inject node to the gpio node:
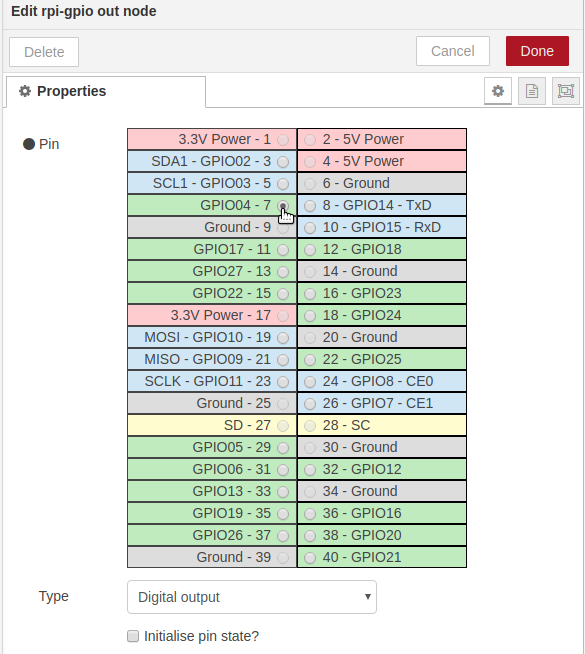
Double click the PIN Node ( rpi gpio ) to enter into edit mode and select Pin 7 and make certain the type is Digital Output.
Add the “Off Switch”
Let’s Drag a Second Inject node onto the Flow area
Double click the Inject to edit
Change it to boolean and set the value to false.
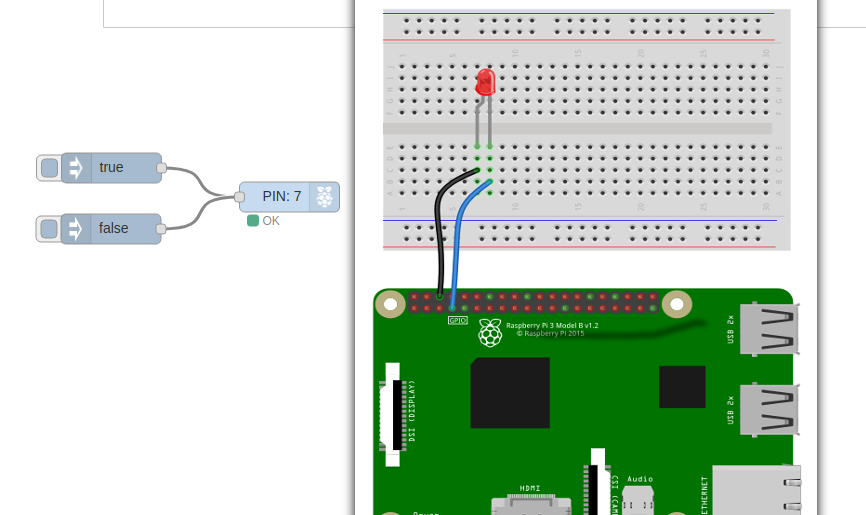
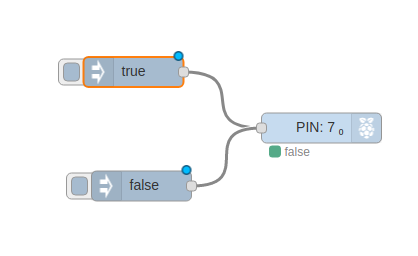
Wire the “false” node to the same pin as the true node.
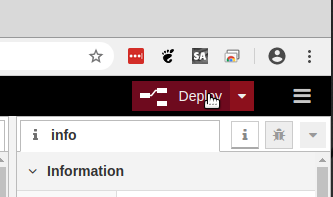
The final step before you can use either of the buttons is to Deploy the Flow.
Clicking the small blue box next to the “true” inject node will turn the LED on and “false” will turn it off.