Put all the fundamentals to use with this advanced Arduino project. Hobbyists, STEM Teachers, and Students will all be challenged by this project.
Materials
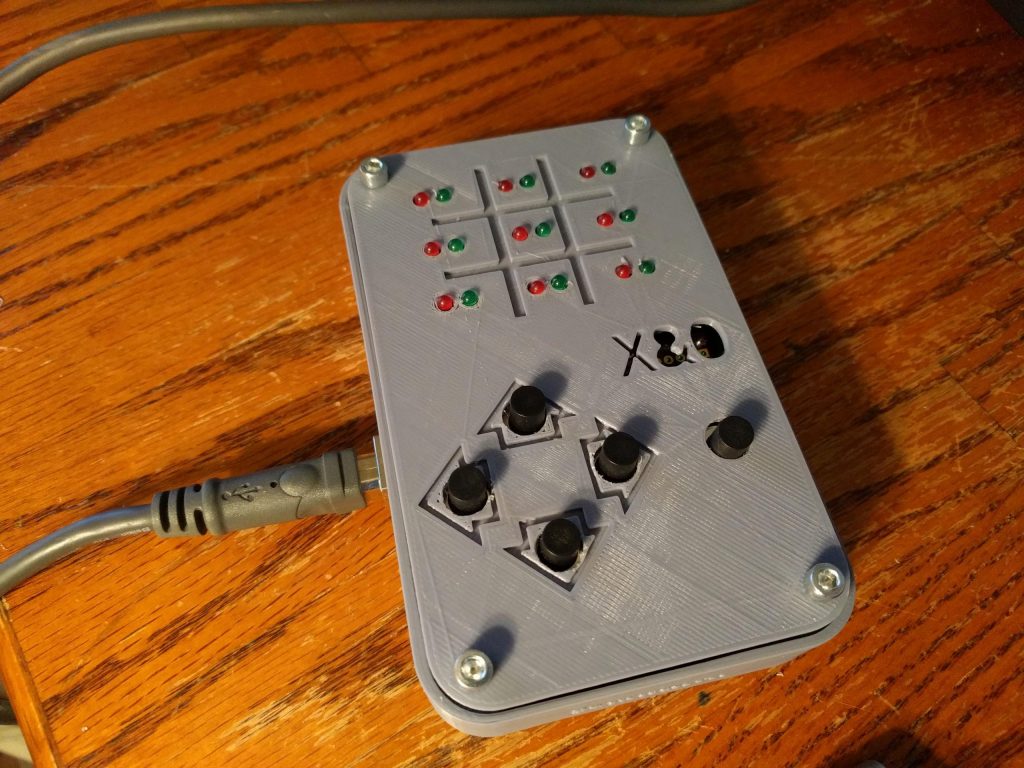
- 3D Printed Case
- Arduino UNO ( or compatible )
- 9x9x2 LED Display
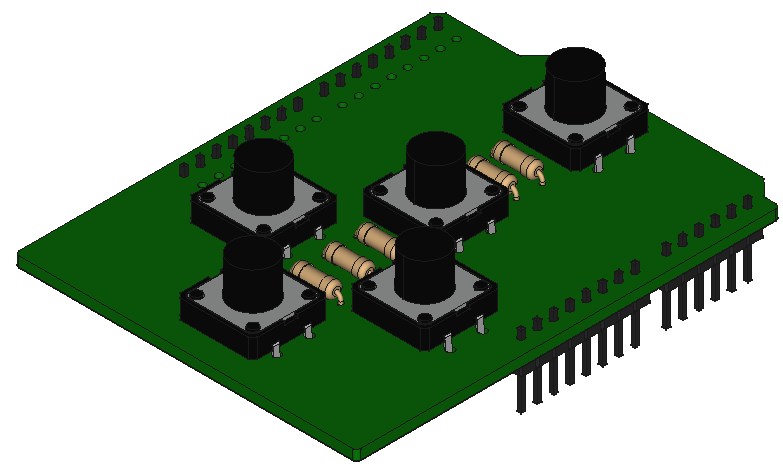
- D-Pad Button Board
- 4 – 3.5 MM Hexhead Screws ( or other types )
- TicTacToe Arduino Code
- Battery Pack ( Optional )
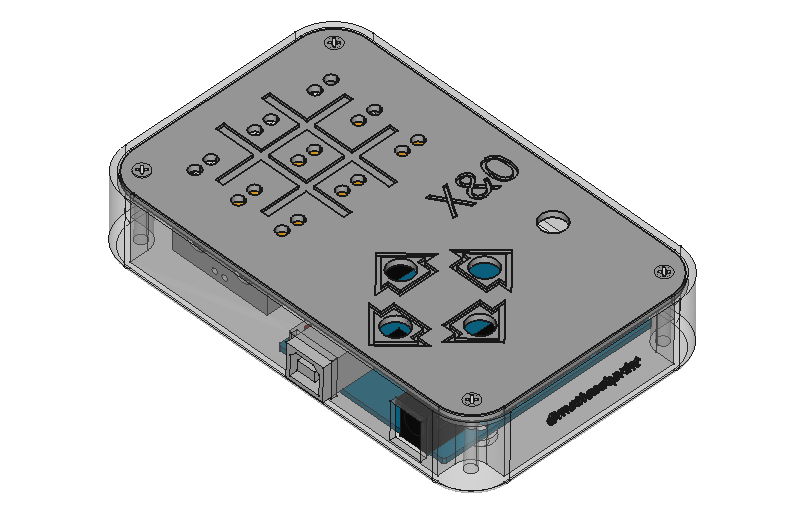
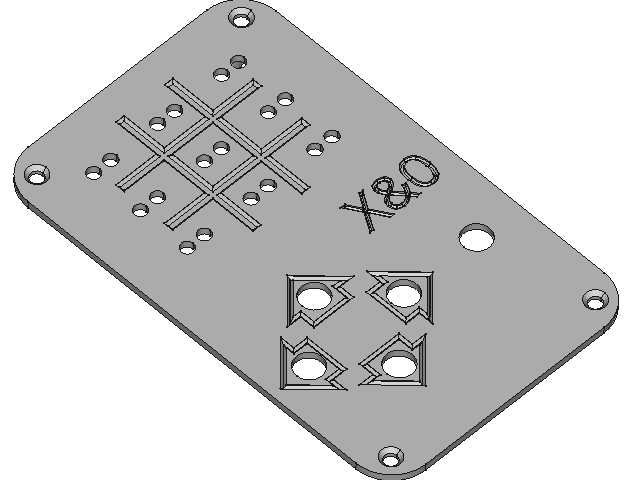
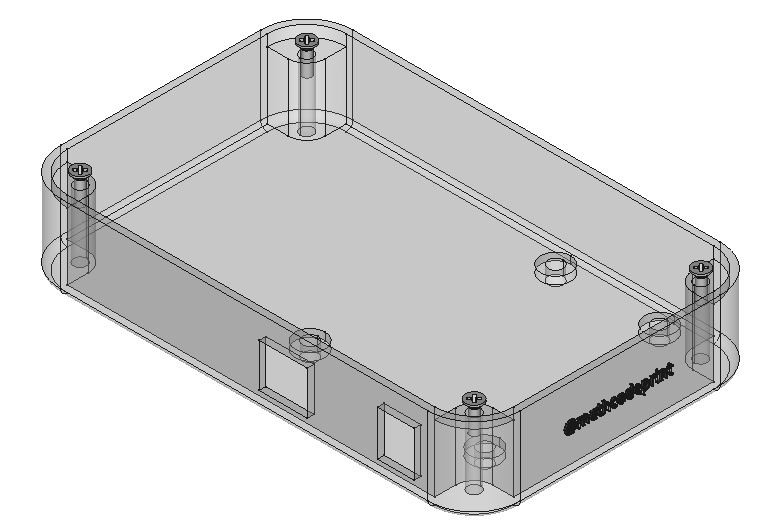
The Faceplate
There are only two components to the TicTacToe case. The FacePlate and the Case itself.
The Case
D-Pad Button Board
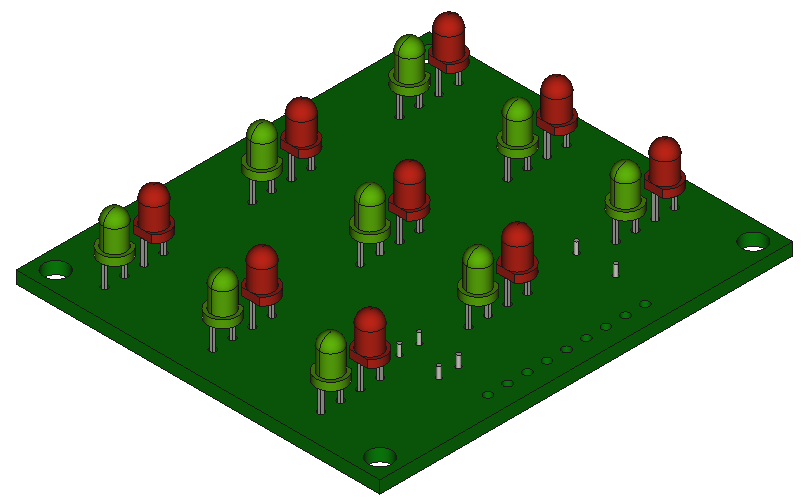
9x9x2 LED Display