
Follow along as I Learn how to add Closed Caption to my videos.
Approach One – Multiple Tools, Manual and Automation
Audacity
I first used Audacity to separate the audio from my video file. My video is in MP4 format encoded for posting onto YouTube.

After I imported the audio I used the export tool to save it as an MP3, it took about 30 seconds.
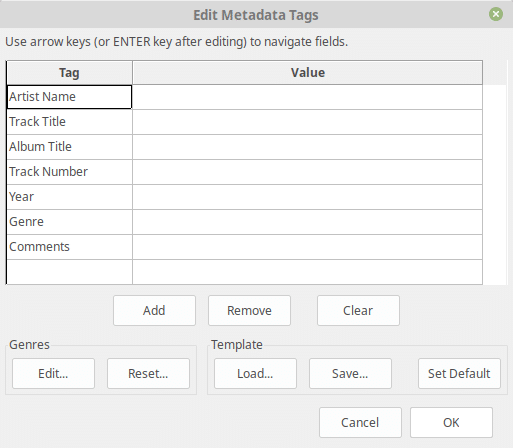
Audacity MetaData for MP3 Export
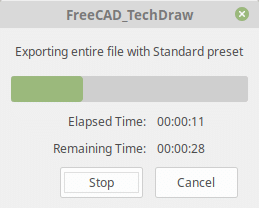
Audacity – Export Progress
IBM Watson – Speech to Text
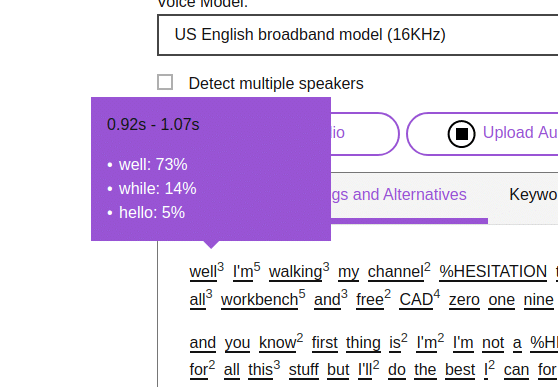
Next, I uploaded this speech file to IBM’s Watson – Speech to Text tools, it went ahead and started transcribing. Here is some of the process:
The results are impressive but either I have poor enunciation or other spoken-word issues. For know I am just going to move forward and worry about fixing errors later.
When the audio is fully transcribed I moved to the “Word Timings and Alternatives” tab. I’m not a transcriptionist however, it is pretty clear that each word is accompanied by the amount of time it consumes. There are also additional tags like %HESITATION.
Amara
The first captioning tool I am trying is Amara, it is free to use for Public videos. I don’t see this as a problem as it adds additional presence for my video anyway. Win-Win. Unfortunately, the timing file from Watson is not a format that Amara understands. As a result, I would have to add captioning timing.

And that is is for the first round.
Conclusion:
IBM’s Watson – Speach-to-Text is a very impressive tool, I am certain it will be part of my future efforts. Amara is also very impressive and accepts complete sub-title files. There is a disconnect between the two. Watson does not have a sub-title output format, why would it. So the next round will be turning the Watson output into a Captioning file suitable for import to Amara.