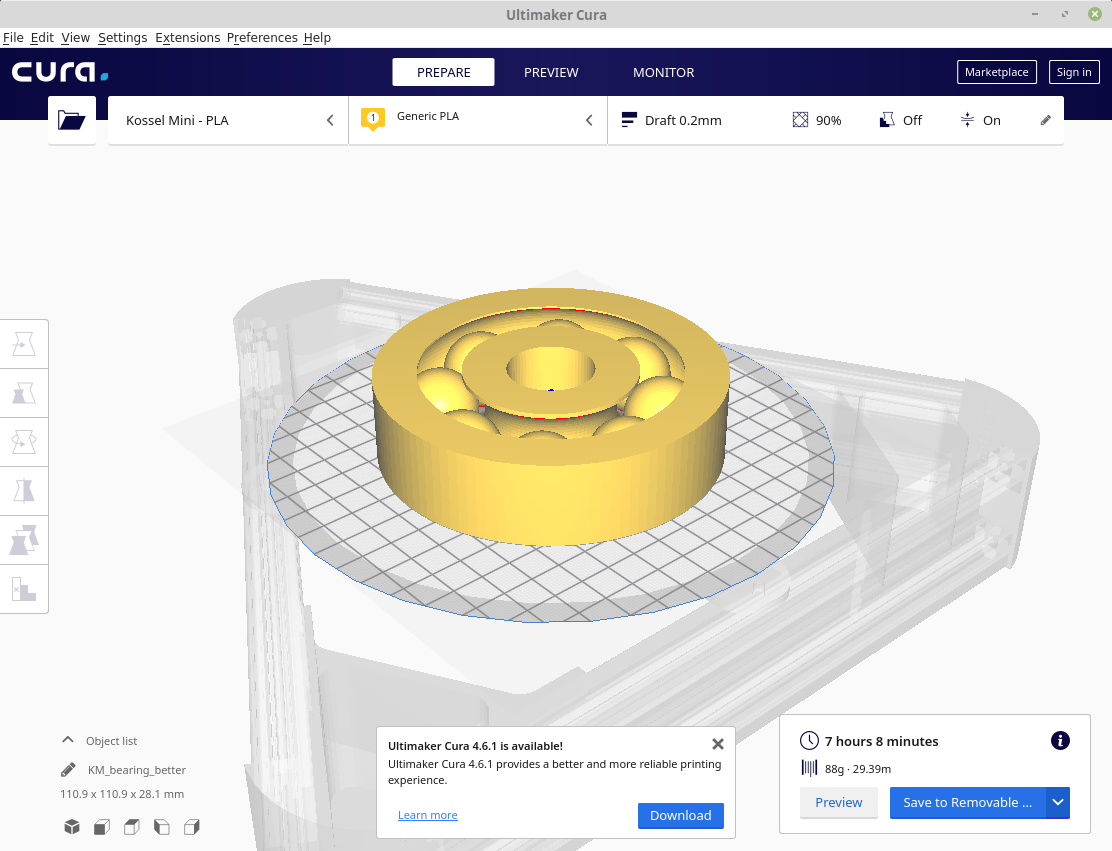
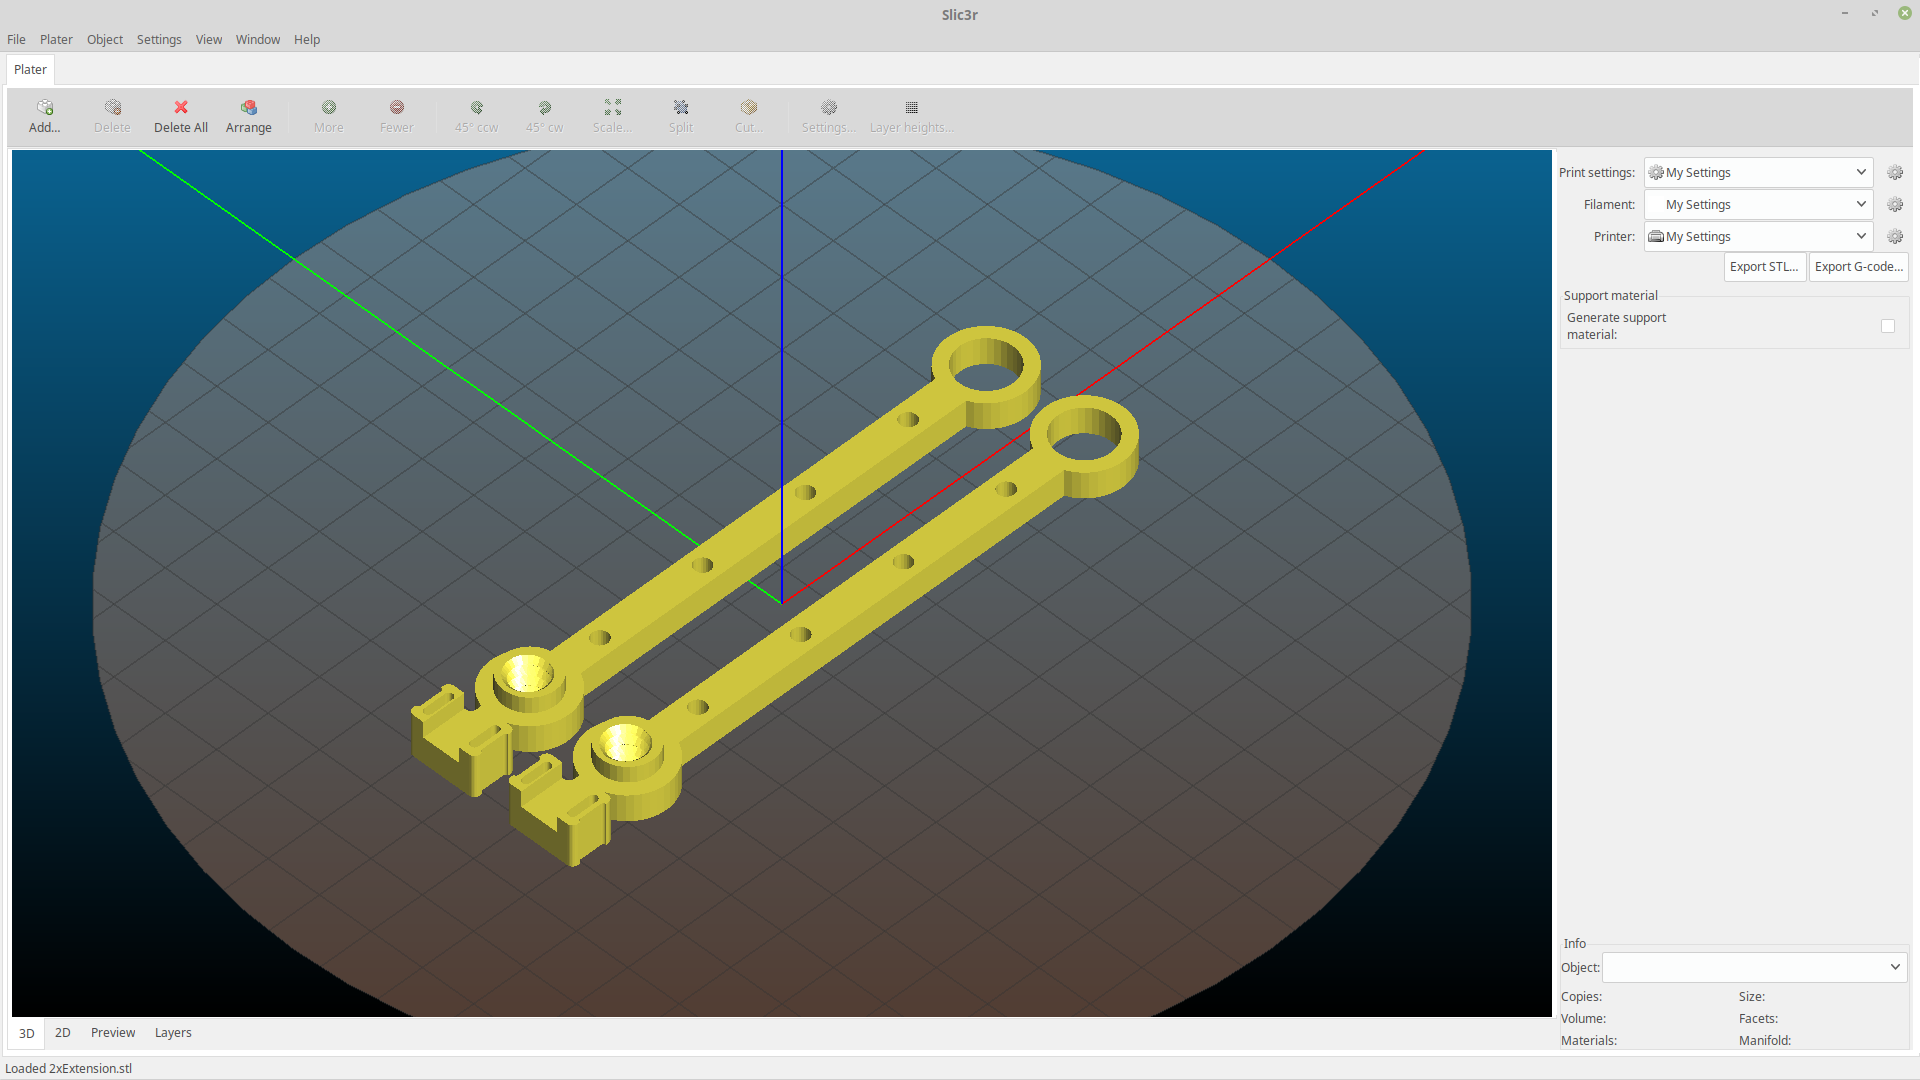
Cura is a very popular and easy to use slicing software. It is an Open Source software made by Ultimaker. The novice 3d Printing enthusiast will generally find Cura simple enough to get started but powerful enough to use for a long time. Cura removes some of the chores of preparing G-Code by automatically performing tasks like “center” and “lay flat”.
A downside to CURA is that is increasingly moving away from Home-brew printers and relying on manufacturer printer definitions. This author is moving away form CURA for that reason.
Some of the newer more interesting features is the material handling. With material definitions getting it’s own management CURA has begun the abstraction of material specific settings away from machine settings. This is probably a good thing.
PyCharm is a fully featured IDE. For the new user this can be quite overwhelming. Even for the seasoned developer it can be quite difficult finding your way through a new IDE. Completing a simple hello-world app is a great way to break ground on this tool.
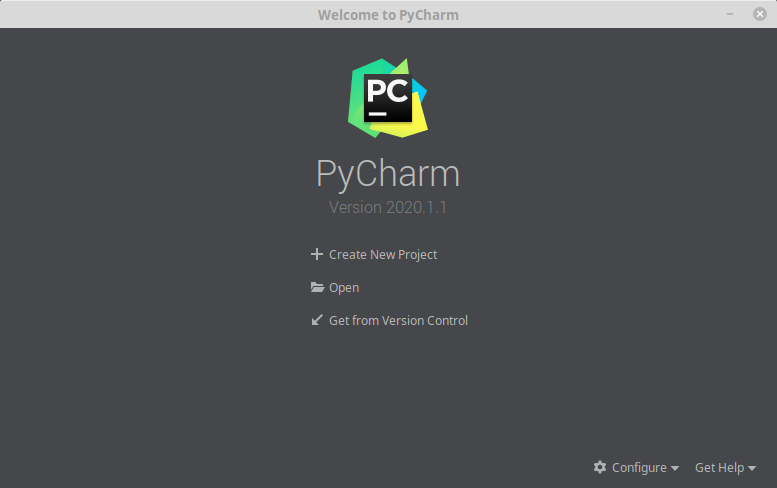
We will start from the welcome screen. After you have installed and launched PyCharm this is how you will be greeted.
PyCharm Welcome Screen
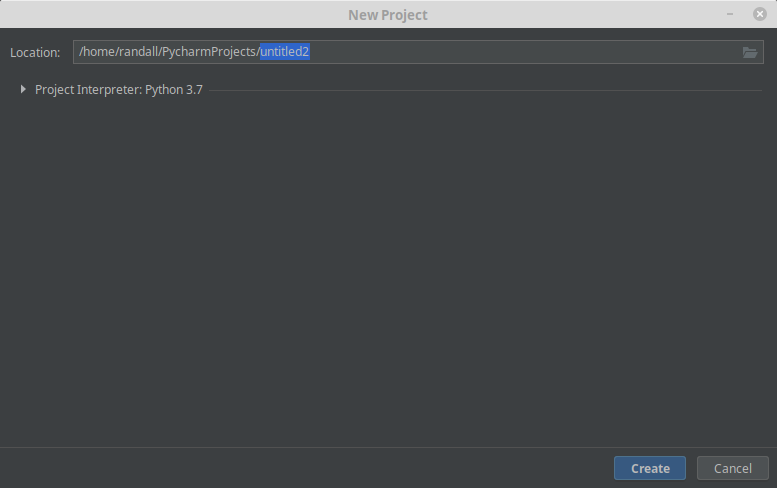
1.) Select “Create New Project”, and you will see the screen slide over and we can walk through the “New Project” dialog.
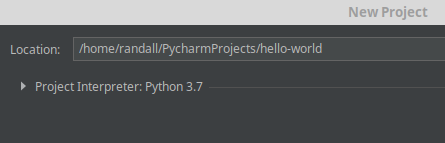
PyCharm New Project Dialog Screen
2.) Change the file name to “hello-world”
PyCharm – name a new-project
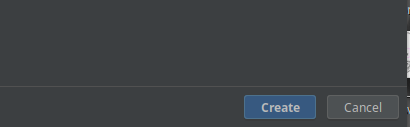
3.) Click Create
4.) Right CLick on the FileFolder name “hello-world” on the left side of the screen. Select “New”, the “Python FIle
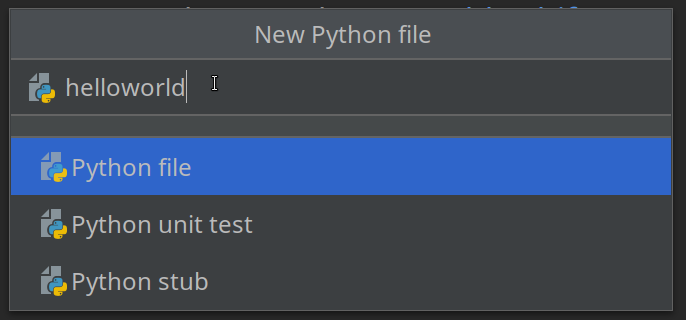
PyCharm – add a new Python file to your project
5.) Give your python file a name, like “helloworld”
6.) Now type this into the black pane on the right:
print ("hello world!")
PyCharm add code to your project
7.) Highlight the “helloworld.py” file in the Project Tree on the left and click the Run item in Top menu. The second Run entry will be highlighted, select that.
8.) From the Run Dialog select the helloworld file ( right facing white triangle ). The click green Run Arrow
If all goes well you will see the run output at the bottom of your screen.
An that is all there is to it. Once you have navigated the “helloworld” you have the basics necessary to use this IDE.
Place this file into your Apache2 httpd “Document” directory and unzip/untar
unzip matomo-latest.zip
Set permission to the owner of the httpd process ( www-data in my case )
chmod -R www-data:www-data matomo
Check the permissions
ls -l
Make it accessable
I like to just place a symbolic link in the Documents directory of the Virtual Host I am using it with. I don’t know what the security ramifications of this might be. You, of course, will have to discern the paths for your particular setup. I keep my Virtual Hosts and Matomo at the same level.
ln -s ../matomo matomo
Browse to the newly installed system, and work through the installation. You will likely have to install some PHP extensions to get the system working fully. I had to install mbstring.
Update you apt so you get that latest
apt update
First find the package
apt-cache search mbstring

php-mbstring - MBSTRING module for PHP [default]
php-patchwork-utf8 - UTF-8 strings handling for PHP
php-symfony-polyfill-mbstring - Symfony polyfill for the Mbstring extension
php-symfony-polyfill-util - Symfony utilities for portability of PHP codes
php7.2-mbstring - MBSTRING module for PHP
What PHP Version
php -v

PHP 7.2.24-0ubuntu0.18.04.3 (cli) (built: Feb 11 2020 15:55:52) ( NTS )
Copyright (c) 1997-2018 The PHP Group
Zend Engine v3.2.0, Copyright (c) 1998-2018 Zend Technologies
with Zend OPcache v7.2.24-0ubuntu0.18.04.3, Copyright (c) 1999-2018, by Zend Technologies
Ok install the correct one
apt install php7.2-mbstring
Restart the web server
systemctl restart apache2
Once you have worked through all the PHP extensions fin the link for continueing over SSL:
Next, to the database setup, bring up a console to create a user for Matomo:
Modern distrubutions allow root to connect from a local terminal instance ( ssh ) without user name and password, type mysql at the console to get the mysql-client command prompt:
Create the database:
CREATE DATABASE matomo;
Add a user
CREATE USER ‘matomo’@’localhost’ identified by ‘agoodpasswordgoeshere’;
Give the user permissions on the database
GRANT ALL ON matomo.* to ‘matomo’@’localhost’;
Head back to the Matomo installation wizard and Complete step 5 through 8 for your website. I am using WordPress so I only need the tracking code to plug into the WordPress Plugin.
The office WordPress Plugin for Matomo Let’s simply add the plugin and Activate. Using the default tracking option you should be good to go!
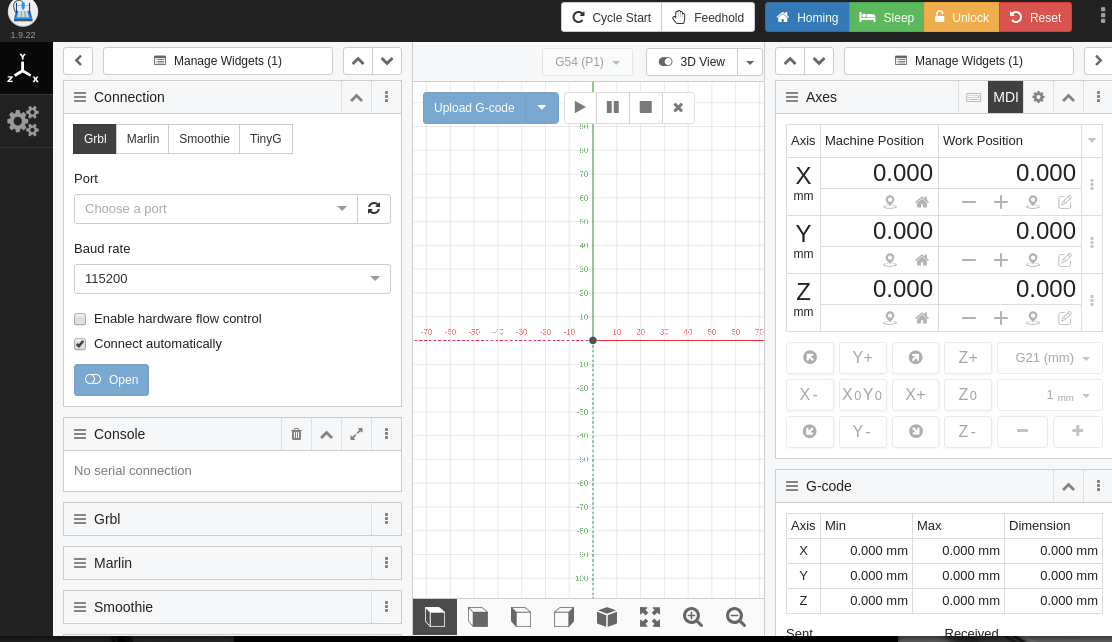
The magical language that runs most 3D Printers and other CNC machines are called g-code. G-Code is a language that describes positioning and actions to be taken by many types of CNC machinery. In lower-end machines and in earlier 3d printers, the machine was unable to hold and process these instructions on its own and needed a computer to complete that work. Thus we have the G-Code sender and a modern incarnation CNCjs.
The g-code sender speaks to the CNC machine over a USB/Serial connection. It communicates motion and actions while negotiating how much data to send and when to send it.
CNCjs is a web based G-Code sender. It can run on a variety of computers including the Raspberry-Pi. This article will be installing the CNCjs onto a Linux Mint machine. It will be focused on installing the software for use from a web page and with a degree of permanance.
Try it out First
If you want to try the software out before doing a full installation you can use the AppImage. This is a self-contained bundle of all the software and dependencies needed to run the title. You can download the AppImage, use it from the list below.
Pre-paring your machine
The only listed requirement is nodejs version 4 or higher, and npm if you are not installing from git
For nodejs, you can check which versions are available on your repository by typeing
apt-cache show nodejs | grep Version
If the versions shown are greater than 4 you are good to install by typing:
sudo apt install nodejs
If you think it is already installed just type:
nodejs --version
For npm you can do the sam process
apt-cache show npm | grep Version
sudo apt install npm
npm --version
Obtain the Software
If you would like to run the software on your desktop like a piece of regular software ( not web-based ) there is a version that treats the entire cncjs web service as a desktop App. It uses something called Electron, and is avaiable in Windows, Mac and Linux
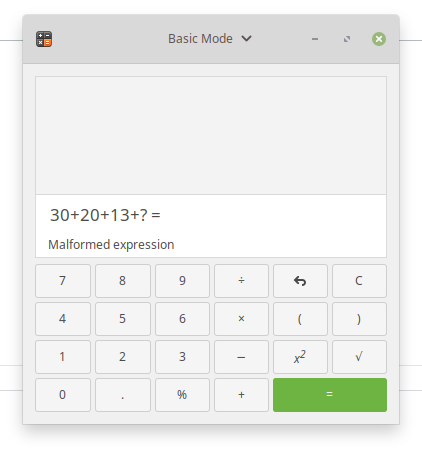
Why EVERYONE is wrong about this post. First, I will let you off the hook by saying I got it wrong at first. I love math but I am not particularly skilled at math.
I don’t particularly like this puzzles because they are almost always not about the math but are more about distraction and attention span. My attention span is particularly low so I usually get them wrong.
Here is the text posted with the image
Deals a deal! I lost to XXXXXX
What's the total of the last column? Post your response only, not your math. If you guess and answer wrong, you have to re-post the same and to whom you lost to.
Comment your answer! If your wrong you need to repost and I'll send you the answer key
First here are the values:
Man = 5
Weight = 2
Shoe = 5
The Correct Answer
First, let’s look at the standard “correct” answer:
To get to this answer you have to notice that the man is wearing shoes and weights. The rest is following PEMDAS.
Technically Correct Answers:
A good friend of mine pointed out that the instructions simple state to Total the last column. As the instructions do not explicitly state to perform operations on the fourth row we end up with this.
The Bottleneck – Transcription File to Captioning file
After processing through the Watson – Amara approach It became clear that there is a piece missing. Watson does a decent job of creating a transcript. It even has something it calls a “Timing File”. Unfortunately, from the demo page, it is not possible to easily save either this file or the JSON file that is also available. I am presuming this is due to the fact that the Watson Speach-To-Text is a paid service and I am using a demo. So I will have to try to full-fledged service.
Trying out Watson Speach-to-Text API
The biggest question is “Can the Watson speech API output a Caption file format?” I went over to Wikipedia for some background and a list of the different formats.
From the Amara.com upload dialog the accepted formats are:
Our site accepts SRT, SSA, SBV, DFXP, TXT, and VTT format. Only files ending in .srt, .ssa, .sbv, .dfxp, .txt, .vtt or .xml (for dfxp) are accepted.
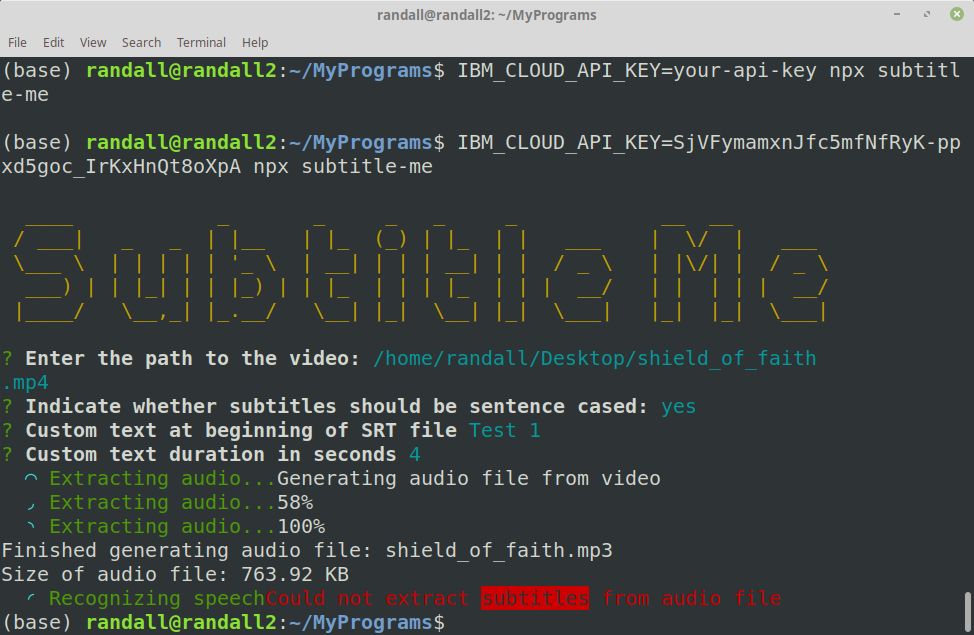
Attempt 1 – Github, SubtitleMe
I did what all of us do, I googled “Watson Speach API convert to subtitles.” Some of the first entries returned where GitHub entries so I tired the first.
It is a program called “SubtitleMe” its claim is that it will use the Watson Speach API to create a subtitle file. Here is my first attempt:
This certainly could be user failure, but I definitely want the easiest solution. I will try the second Github entry.
Attempt 2 – Github, Subtitler
So, it turns out that, Subtitler is a fork of the first one, but it did seem to get a little further. I fed it a one minute file. After more than a minute of streaming the file, I was getting no results. I set that window aside and moved on to the next approach.
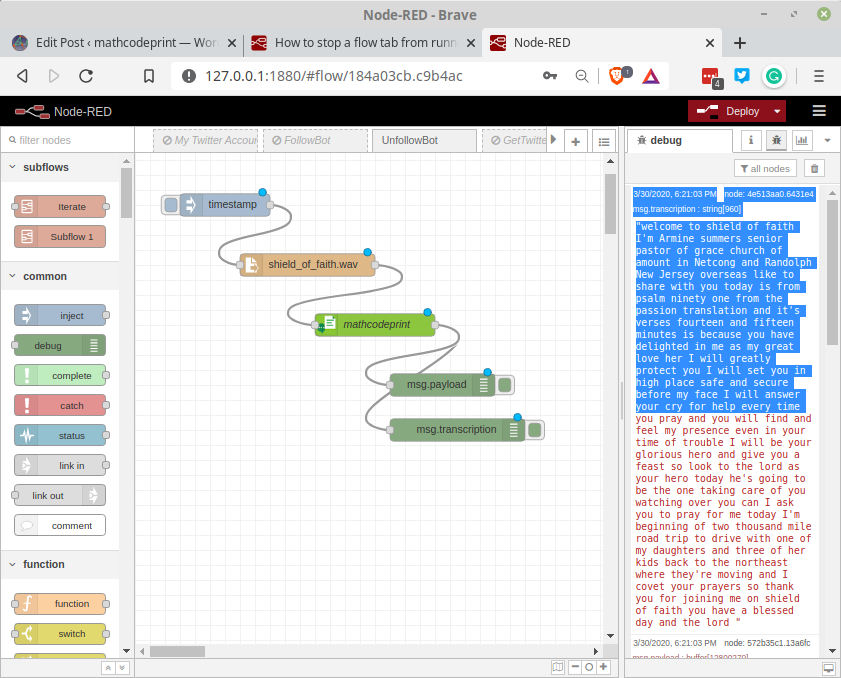
Attempt 3 – Using IBM-Watson Nodes for Node-RED
In the next article, I will be going through how I used Node-RED to query IBM Watson’s Speech-to-Text API. For now, here is a screenshot:
This website uses cookies to improve your experience. We'll assume you're ok with this, but you can opt-out if you wish. Cookie settingsACCEPT
Privacy & Cookies Policy
Privacy Overview
This website uses cookies to improve your experience while you navigate through the website. Out of these cookies, the cookies that are categorized as necessary are stored on your browser as they are essential for the working of basic functionalities of the website. We also use third-party cookies that help us analyze and understand how you use this website. These cookies will be stored in your browser only with your consent. You also have the option to opt-out of these cookies. But opting out of some of these cookies may have an effect on your browsing experience.
Necessary cookies are absolutely essential for the website to function properly. This category only includes cookies that ensures basic functionalities and security features of the website. These cookies do not store any personal information.
Any cookies that may not be particularly necessary for the website to function and is used specifically to collect user personal data via analytics, ads, other embedded contents are termed as non-necessary cookies. It is mandatory to procure user consent prior to running these cookies on your website.