Posted on Leave a comment

Maximize your WordPress Efforts

Using Jetpack to “echo” your blog post to various platforms like Facebook and Twitter.

As any WordPress user, you have probably been through the routine. Create a post, share to Twitter, share to Facebook, share to a hundred sites to try to improve your traffic. I am here to tell you there is a solution. It is a service offered by WordPress themselves, it is called Jetpack.

You can find the plugin here:

Jetpack is sort of a Backend to WordPress that adds a good number of features and services that make it pretty much indispensable. It has a free tier and a paid tier. For most of my sites, I simply use the free tier and fill in the voids with other plugins.

While Social Sharing can be handled by many other plugins I have found the dead-simple integration by Jetpack to hit the mark. I have tested out other plugins only to be frustrated by a cumbersome interface or process or even outcome.

When you connect to Jetpack you will get a new icon in your post properties, it is a little green circle with two triangles:
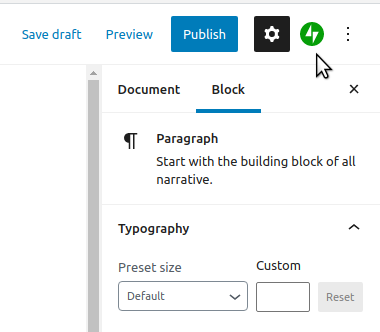
Selecting the Jetpack icon swaps out the panel and shows the Jetpack panel. The first detail on the panel is the “Share this post.” Section. As you can see this site automatically shares four social sites that are included in the free version of Jetpack.
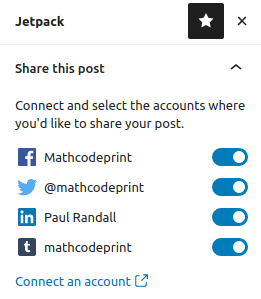
Once these are set, nothing else needs to be done. All your posts will be automatically shared on all these social sites. There are more available in the paid version.

The next item available is Social Previews. In the past, I played the post/delete/post again game when my post did not appear correctly on the social site. Now I have the habit of checking the preview before I post.

The preview for this post looks like this:

If you have added a post that is more narrowly targeted, you can disable sharing and only include the social sites that are appropriate for that post.
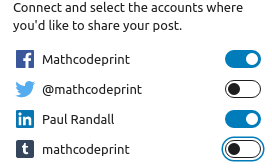
It seems that Jetpack only supports these four platforms, I had hoped for more but I’ll take what I can get.

Posted on Leave a comment

A Walk in the NextCloud – Docker Rescues NextCloud

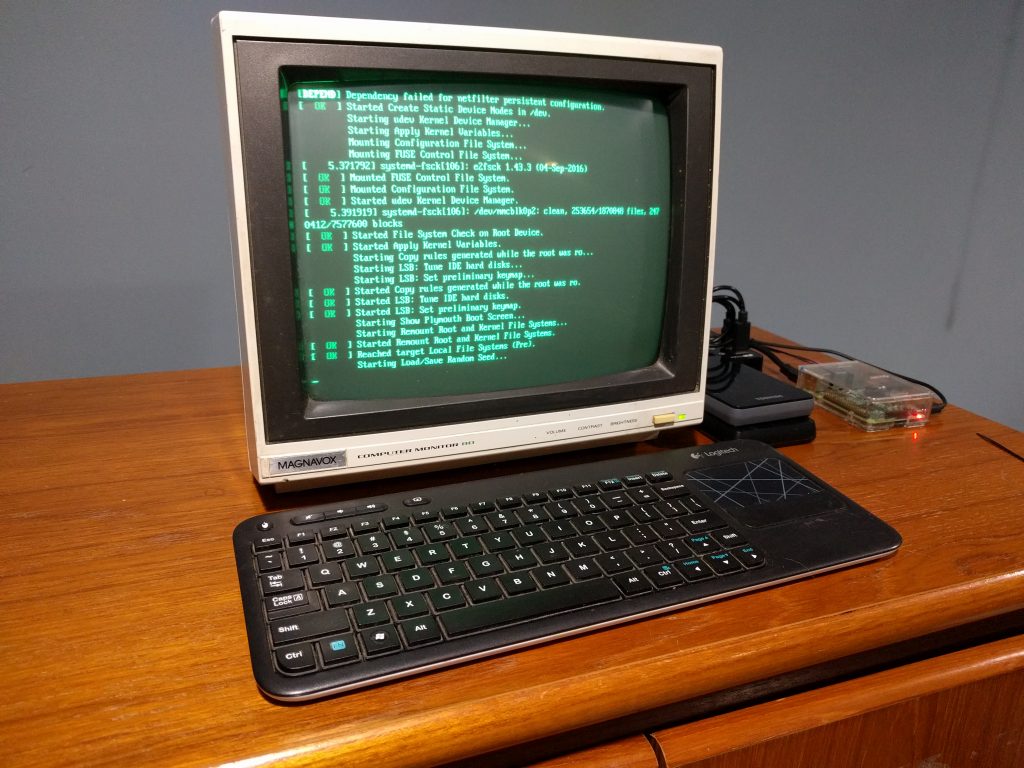
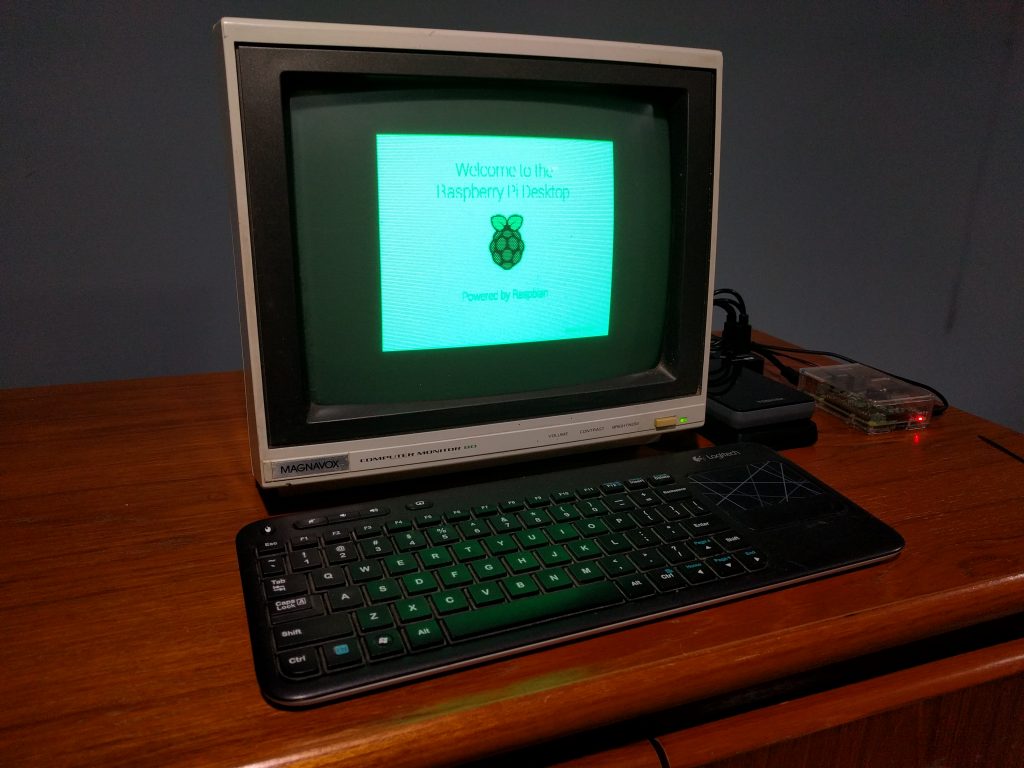
Pi 3 on a 30 Year old Green Screen

A first look at running NextCloud in a Docker Container on a Raspberry Pi. The short answer is yes, it is simple. The qualified answer is, it is likely only useful for fun, testing, and one user.

Trying to set up a NextCloud server on a spare Raspberry PI in part of my journey away from the public cloud. An older Raspberry Pi I got stuck on the PHP 7.2 requirement. Spent more than an hour trying to upgrade and felt I wasn’t getting anywhere so I decided to turn to Docker. After all, this is what Docker excels at, package up all the dependencies that each piece of software needs.

So I hit up Docker hub to see if an image was available. Sure enough, there is and it has 500M downloads !!!!

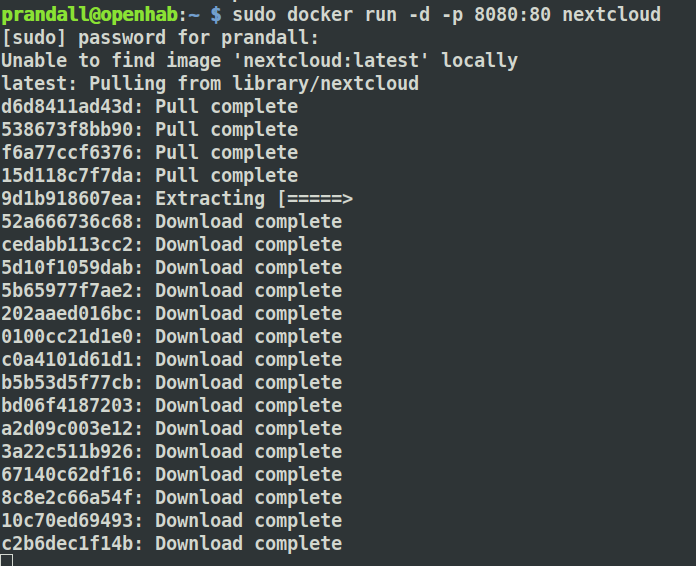
One run command later and I am getting the image onto my aging Raspberry Pi 3 ( let’s see how it handles this. ) I had previously test openhab on this machine, which should explain the name. Eventually, I think I need to rename it to randallcloud or something more clever.

After a bit, I list the containers and boom, NextCloud is running.

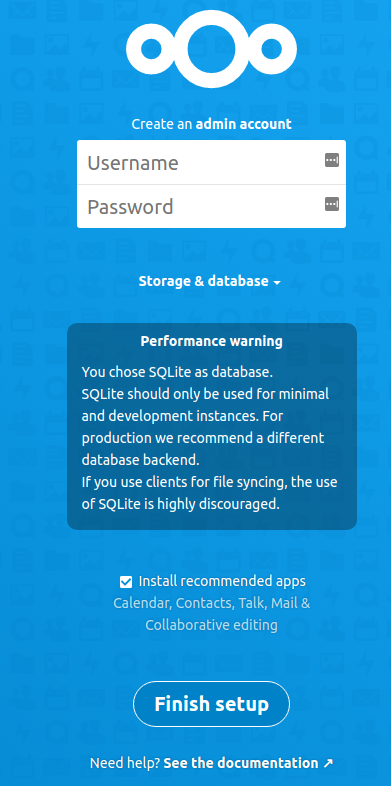
It seems the Docker instance of Next Cloud took awhile to settle but after a few minutes ( Raspberry PI3 seems too slow for this. ) I can browse to the login page.

Based on the warning I thinking moving off of SQLLite will be one of the next steps.

So now I just need to add a Admin User name and password, and I think that is all.

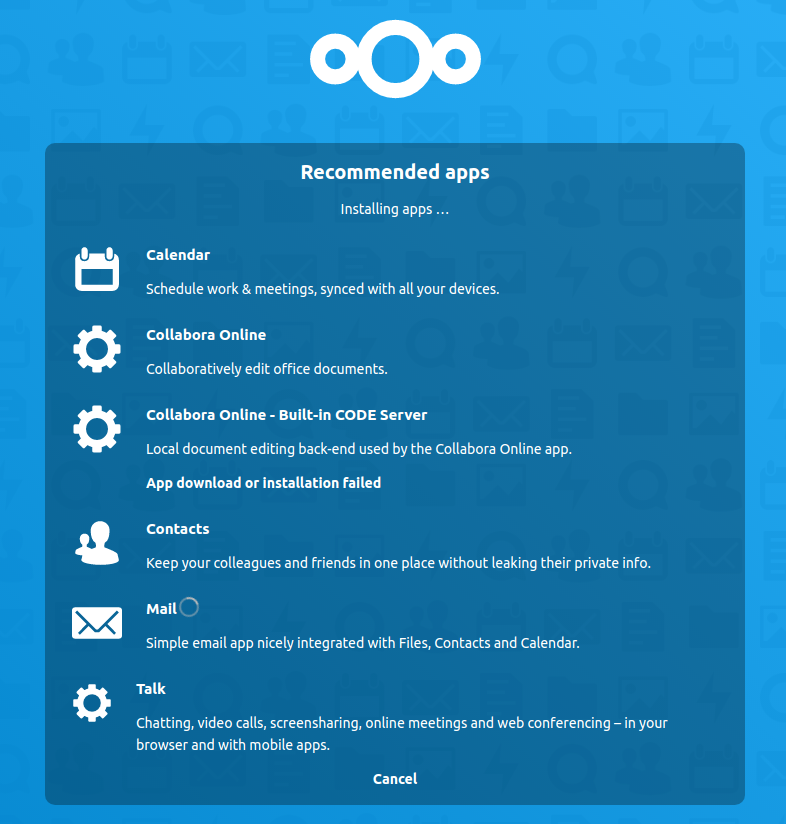
The user is created and NextCloud moves on to install the default apps.

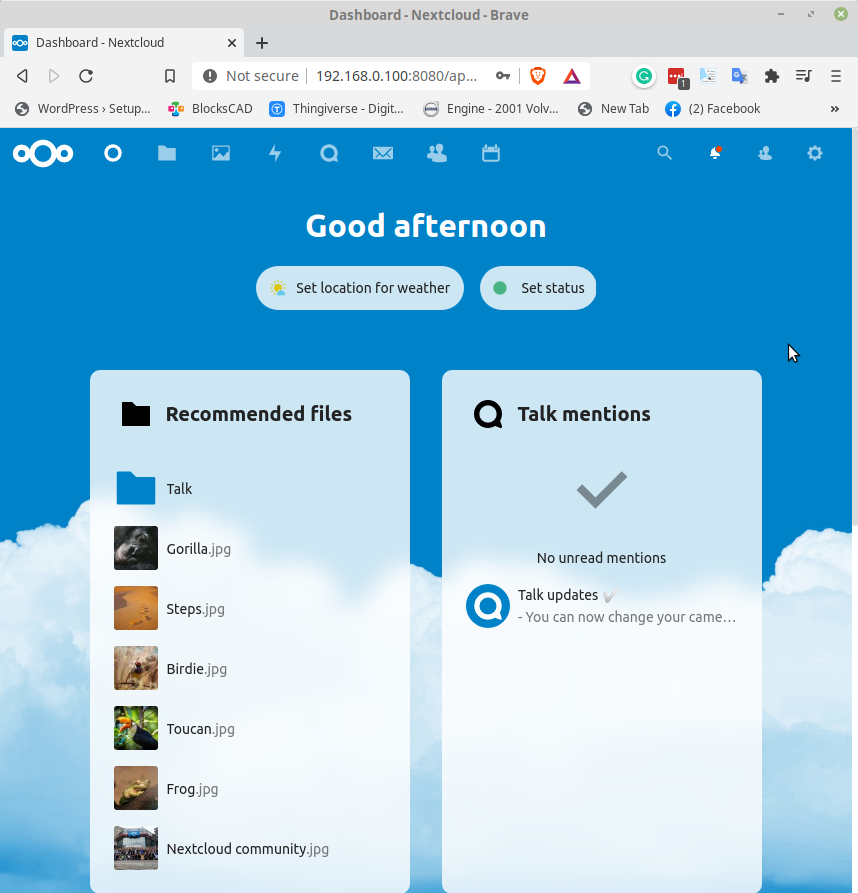
In a short time I am presented with a Dashboard, time to test it out!

Next I added an account to be used with my phone and I was able to login. This couldn’t have been easier.

Posted on Leave a comment

Arduino – Control a Servo

Materials

  • Arduino Uno
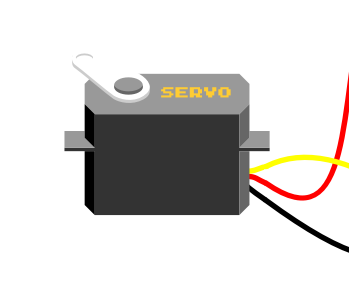
  • Micro-Servo
  • Hookup Wire

Coding

In order to easily code for a Servo motor, it is best to use a library. This example uses the Servo.h library from barraganstudio.com

The code below is from the example, but with the pin changed and the comments removed.

/* Sweep
by BARRAGAN http://barraganstudio.com
This example code is in the public domain.modified 8 Nov 2013
by Scott Fitzgerald
http://www.arduino.cc/en/Tutorial/Sweep
*/
#include <Servo.h>

Servo myservo;

int pos = 0;

void setup() {
  myservo.attach(10);
}

void loop() {
  for (pos = 0; pos <= 180; pos += 1) { 
    myservo.write(pos);  
    delay(15); 
  }
  for (pos = 180; pos >= 0; pos -= 1) {
    myservo.write(pos); 
    delay(15);
  }
}

Wiring

The wiring for this example is very simple

  1. Connect +5v on the Arduino UNO to the Red wire on the Servo ( or +5v / Vcc if marked )
  2. Connect GND on the Arduino UNO to the Black wire on the Servo ( or GND if marked )
  3. Connect Pin 10 on the Arduino UNO to the remaining wire on the Servo

Posted on Leave a comment

CNCjs – Gcode Sender

The magical language that runs most 3D Printers and other CNC machines are called g-code. G-Code is a language that describes positioning and actions to be taken by many types of CNC machinery. In lower-end machines and in earlier 3d printers, the machine was unable to hold and process these instructions on its own and needed a computer to complete that work. Thus we have the G-Code sender and a modern incarnation CNCjs.

The g-code sender speaks to the CNC machine over a USB/Serial connection. It communicates motion and actions while negotiating how much data to send and when to send it.

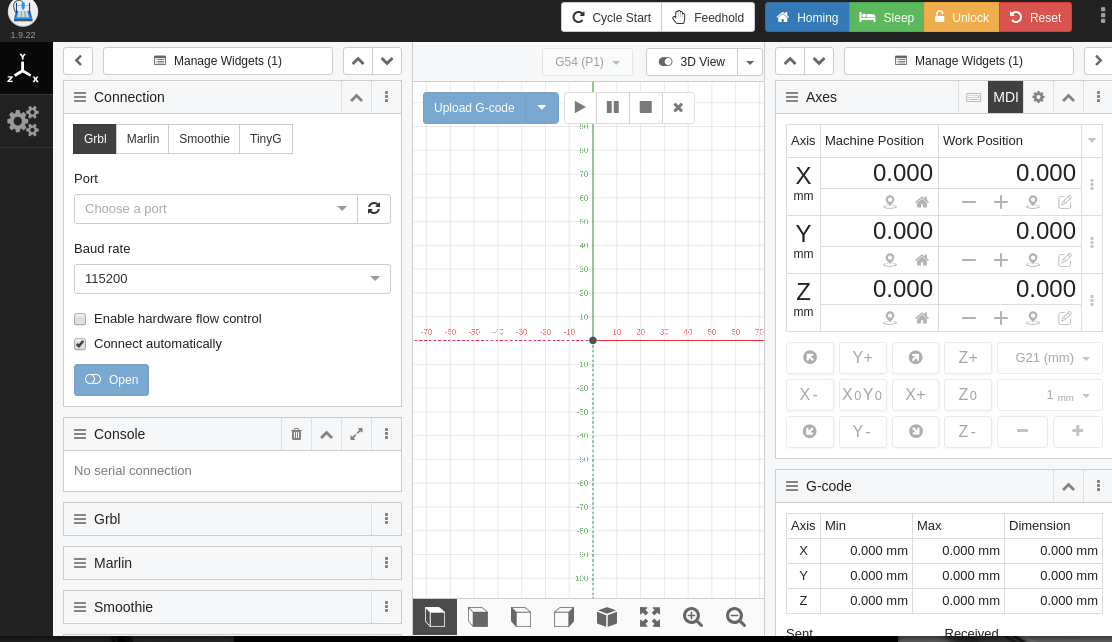
CNCjs is a web based G-Code sender. It can run on a variety of computers including the Raspberry-Pi. This article will be installing the CNCjs onto a Linux Mint machine. It will be focused on installing the software for use from a web page and with a degree of permanance.

Try it out First

If you want to try the software out before doing a full installation you can use the AppImage. This is a self-contained bundle of all the software and dependencies needed to run the title. You can download the AppImage, use it from the list below.

Pre-paring your machine

The only listed requirement is nodejs version 4 or higher, and npm if you are not installing from git

For nodejs, you can check which versions are available on your repository by typeing

apt-cache show nodejs | grep Version

If the versions shown are greater than 4 you are good to install by typing:

sudo apt install nodejs

If you think it is already installed just type:

nodejs --version

For npm you can do the sam process

apt-cache show npm | grep Version
sudo apt install npm 
npm --version

Obtain the Software

If you would like to run the software on your desktop like a piece of regular software ( not web-based ) there is a version that treats the entire cncjs web service as a desktop App. It uses something called Electron, and is avaiable in Windows, Mac and Linux

https://github.com/cncjs/cncjs/wiki/Electron-App

Then pick the download in the “Asset” list. There are debs for Debian Linux, rpms for Redhat based, Windows exe, and Mac dmg

For the AppImage you can use the linux-x86_64.AppImage

For running on a server:

The easiest way to install this software is via npm

Use the following command

npm install -gcncjs@latest

The comand will retrieve the software and isntall it

To run the software use:

cnc

Then visit

http://127.0.0.1:8000/

It’s that simple!

Posted on Leave a comment

Add Closed Caption to Videos – Part Two

The Bottleneck – Transcription File to Captioning file

After processing through the Watson – Amara approach It became clear that there is a piece missing. Watson does a decent job of creating a transcript. It even has something it calls a “Timing File”. Unfortunately, from the demo page, it is not possible to easily save either this file or the JSON file that is also available. I am presuming this is due to the fact that the Watson Speach-To-Text is a paid service and I am using a demo. So I will have to try to full-fledged service.

Trying out Watson Speach-to-Text API

The biggest question is “Can the Watson speech API output a Caption file format?” I went over to Wikipedia for some background and a list of the different formats.

A short simple introduction can be found here: https://en.wikipedia.org/wiki/Timed_text

A more in-depth article on Subtitles can be found here: https://en.wikipedia.org/wiki/Timed_text

What I was looking for, a chart of the formats is here:

https://en.wikipedia.org/wiki/Subtitles#Subtitle_formats

From the Amara.com upload dialog the accepted formats are:

Our site accepts SRT, SSA, SBV, DFXP, TXT, and VTT format. Only files ending in .srt, .ssa, .sbv, .dfxp, .txt, .vtt or .xml (for dfxp) are accepted.

Attempt 1 – Github, SubtitleMe

I did what all of us do, I googled “Watson Speach API convert to subtitles.” Some of the first entries returned where GitHub entries so I tired the first.

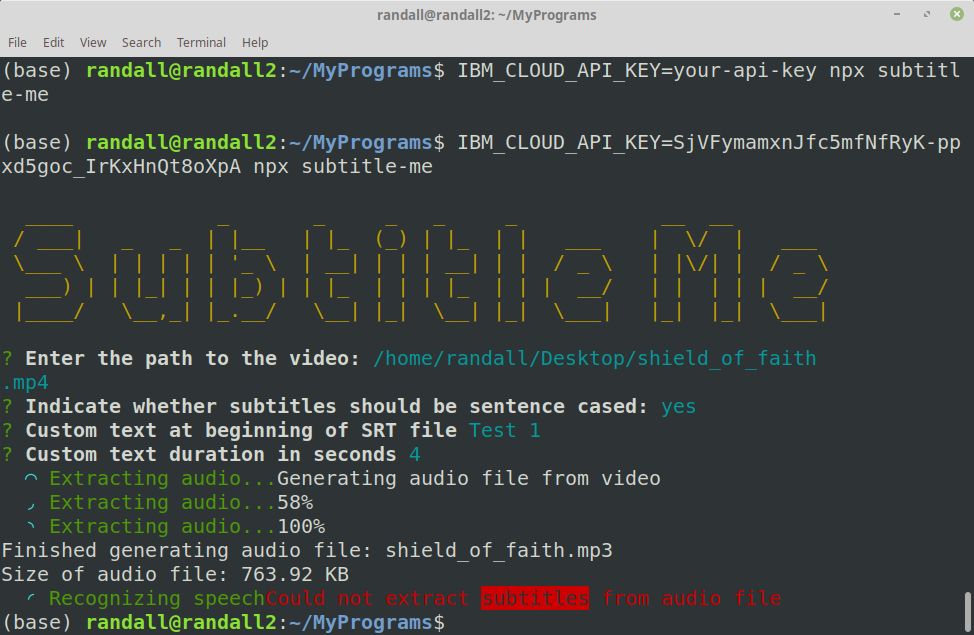
It is a program called “SubtitleMe” its claim is that it will use the Watson Speach API to create a subtitle file. Here is my first attempt:

This certainly could be user failure, but I definitely want the easiest solution. I will try the second Github entry.

Attempt 2 – Github, Subtitler

So, it turns out that, Subtitler is a fork of the first one, but it did seem to get a little further. I fed it a one minute file. After more than a minute of streaming the file, I was getting no results. I set that window aside and moved on to the next approach.

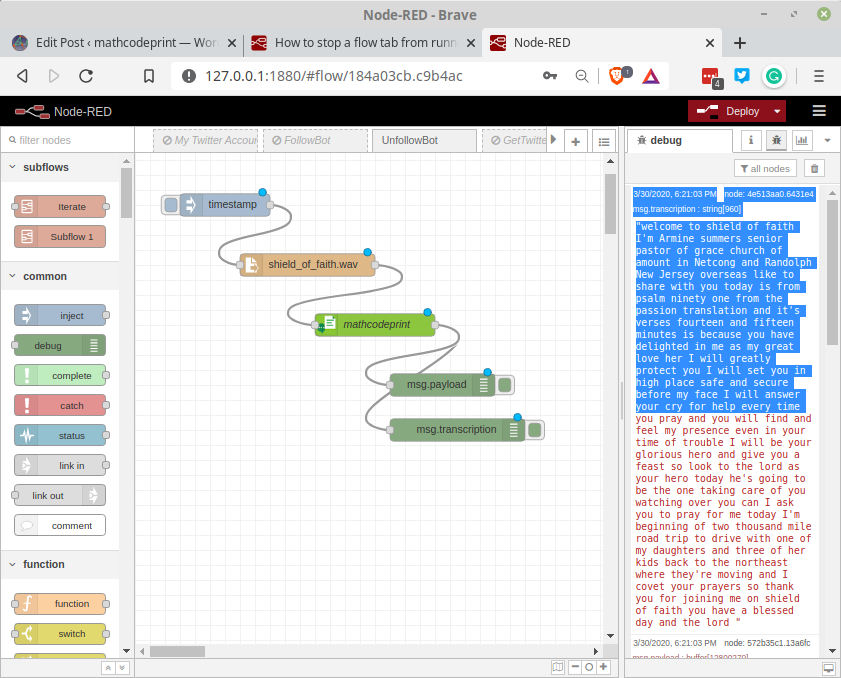
Attempt 3 – Using IBM-Watson Nodes for Node-RED

In the next article, I will be going through how I used Node-RED to query IBM Watson’s Speech-to-Text API. For now, here is a screenshot:

Posted on Leave a comment

Add Closed Caption to Videos – Part One

Follow along as I Learn how to add Closed Caption to my videos.

Approach One – Multiple Tools, Manual and Automation

Audacity

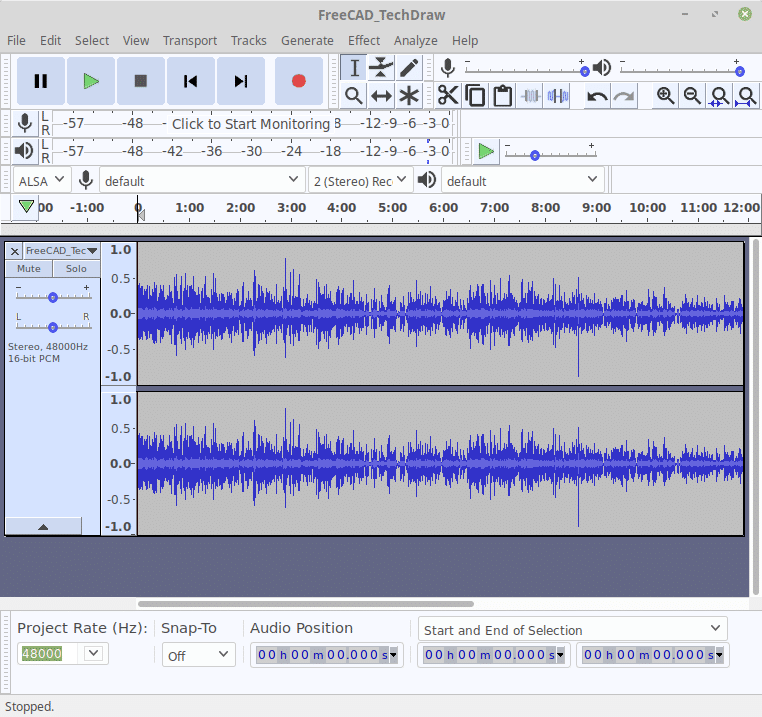
I first used Audacity to separate the audio from my video file. My video is in MP4 format encoded for posting onto YouTube.

Audio after File-Import

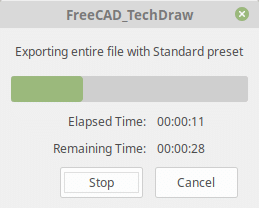
After I imported the audio I used the export tool to save it as an MP3, it took about 30 seconds.

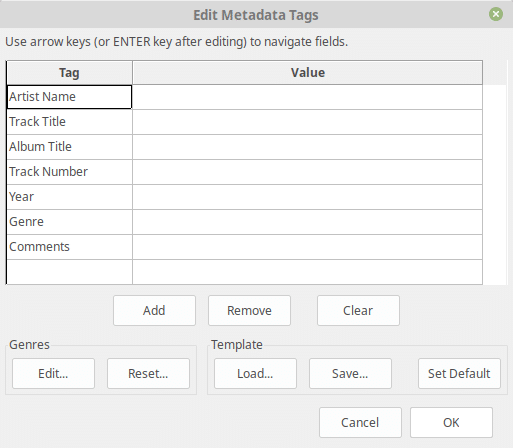
Audacity MetaData for MP3 Export

Audacity – Export Progress

IBM Watson – Speech to Text

Next, I uploaded this speech file to IBM’s Watson – Speech to Text tools, it went ahead and started transcribing. Here is some of the process:

IBM’s Watson Processing My Audio File.

The results are impressive but either I have poor enunciation or other spoken-word issues. For know I am just going to move forward and worry about fixing errors later.

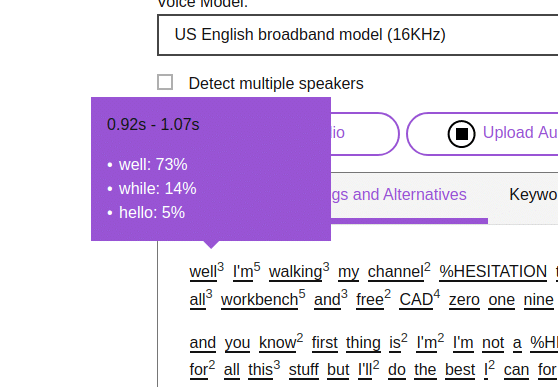
When the audio is fully transcribed I moved to the “Word Timings and Alternatives” tab. I’m not a transcriptionist however, it is pretty clear that each word is accompanied by the amount of time it consumes. There are also additional tags like %HESITATION.

Timings and Alternatives Tab

Amara

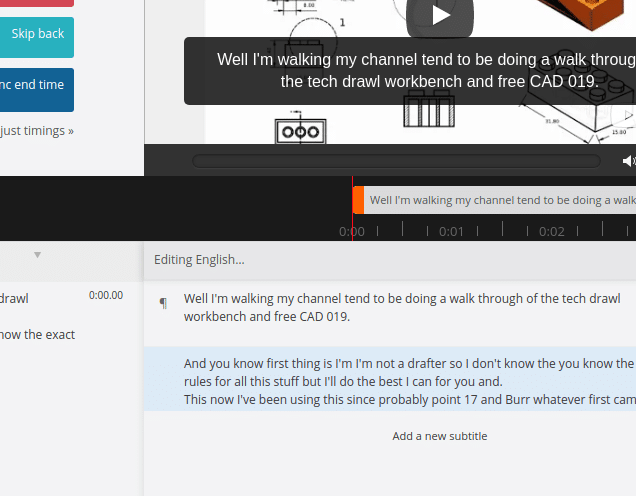
The first captioning tool I am trying is Amara, it is free to use for Public videos. I don’t see this as a problem as it adds additional presence for my video anyway. Win-Win. Unfortunately, the timing file from Watson is not a format that Amara understands. As a result, I would have to add captioning timing.

And that is is for the first round.

Conclusion:

IBM’s Watson – Speach-to-Text is a very impressive tool, I am certain it will be part of my future efforts. Amara is also very impressive and accepts complete sub-title files. There is a disconnect between the two. Watson does not have a sub-title output format, why would it. So the next round will be turning the Watson output into a Captioning file suitable for import to Amara.

Posted on Leave a comment

General Piston Diagram for CAD Exercises

This is a generalized drawing of an Imaginary Piston. This diagram can be used alongside tutorials in various CAD systems.

The full PDF can be purchased on TeachersPayTeachers/mathcodeprint

or the direct link to the Product page:

https://www.teacherspayteachers.com/Product/3D-Design-Drawing-Piston-5265654