Everyone’s First Arduino Project
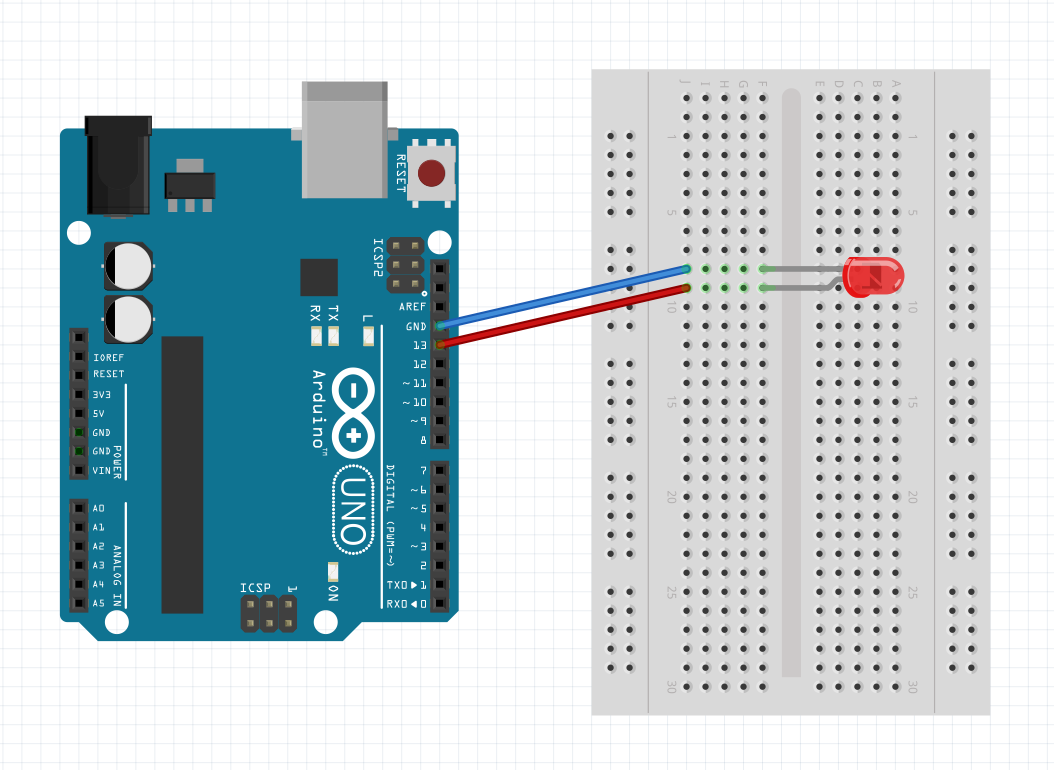
The epinomous Blink example. This diagram can be used along side of your lessons to teach students the first and most basic of the Arduino sketches
Using the well loved Fritzing diagram tool our Breadboard diagrams are carefully laid out to communicate clearly the objectives of the lessons.
Downloads

Fritzing File – These are included to help guide assembly of your project.
The Fritzing File includes everything you need.
- Wiring Diagram
- Schematic
- PCB
- Arduino Code
If you work with Fritzing you can wire the Arduino and Run the code right from Fritzing.

Arduino Code – Our custom commented code with the bare minimum to ease understanding.
If you want to use the Arduino IDE or create.arduino.cc or another coding tool you can download this code.
Uploading Code Video
Wiring Video
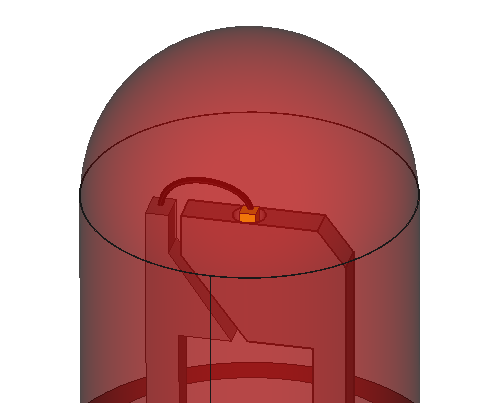
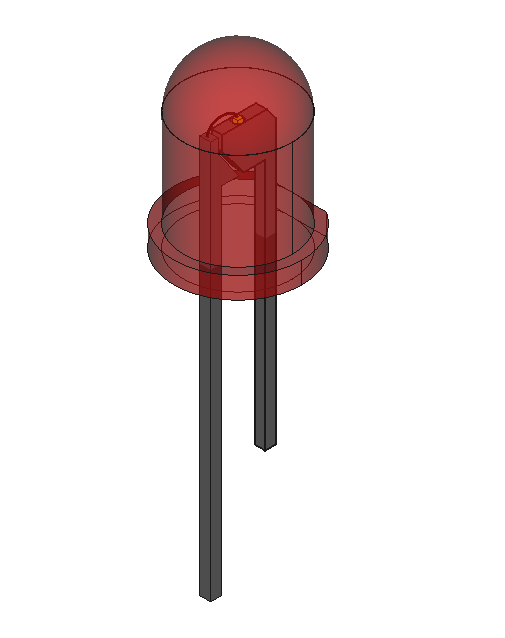
LED Artwork – Some artwork you can use around your Classroom or in any documents.


In order to support this page and my videos you can purchase an LED Diagram and the Above Artwork from TeachersPayTeachers.
Materials
- Arduino UNO
- 1 – 5mm LEDs
- Hookup Wire
- Jumper Wires
- Breadboard
Coding Directions
Preferably download the code from above ( you can also get away with using the built-in examples. ) The code is ready to run without modifications.
Connect your Arduino to the machine you are using and press the Upload Icon.
Wiring Directions
1st Let’s wire up the LED
Place the LED into the breadboard with the long leg ( The anode ) into colum 19 on your breadboard and th short leg into colum 20.
Add a Current Protection Resistor
Place one end of the resistor into colum 19 and the other end into colum 15
Connect the Arduino
Place one wire ( Red is a good color ) from Digital Pin 13 to colum 15 on the Breadboard
Place one wire ( Black can indicate a ground connection ) from colum 20 on the Breadboard to one of the GND pins on the Arduino
That’s all the wiring we need for this experiment.
Support Our work
- Purchase Posters/ Worksheets and 3d Models on TeachersPayTeachers.com/Store/mathcodeprint
- Follow or Support on Patreon at patreon.com/mathcodeprint
